
The final frontier: assembly. Once you've prepared all the components, this cake practically makes itself. And not in the way beds are "self-made" like my brother claims. No, you still need to do a bit of prep, but really, the hard part is over: the buttercream is whipped, the cake's baked and the trim prepared.
You'll need to order your photo about two weeks before your event. I probably should have told you that two weeks ago. The site I order from, Custom Icing, is pretty reliable and posts the icing out within a couple of days but best to be on the safe side. Remember, a facecake without the face is just a plain old cake. *shudder*
The fact that I've broken this recipe into three parts shouldn't dissuade you from whipping up this recipe. It's really pretty simple if you break it down and tackle it over a couple of baking sessions. Even though it's not a quick and easy cake, the response you will receive is more than enough reward for the hard yakka.
Assembly
Trim the pate a cigarette ends to form a neat rectangle. Cut two lengths 4cm x 25cm and another two lengths 4cm x 20cm. Place the lengths upright around the edge of the baking tin (the 25cm lengths on the long edge of the tin, the 20cm lengths on the shorter edges).
Thinly slice the sponge horizontally, ideally around 1.5cm thick. Trim to fit in the bottom of the baking tin, with the pate a cigarette as a border. Top with a thin (1.5cm) layer of buttercream. Repeat the layering of sponge and buttercream twice more (three layers in total). Reserve some buttercream and add pink food colouring, stirring to combine evenly. Fill a piping bag with the buttercream.
At this point, I like to refrigerate the cake to firm up the buttercream and ensure the cake holds together when removed from the tin. Remove from the fridge after about an hour. Lay out some plastic wrap on your benchtop and carefully invert the cake. Place a cake board onto the bottom of the cake and flip back over to display the top of the cake.
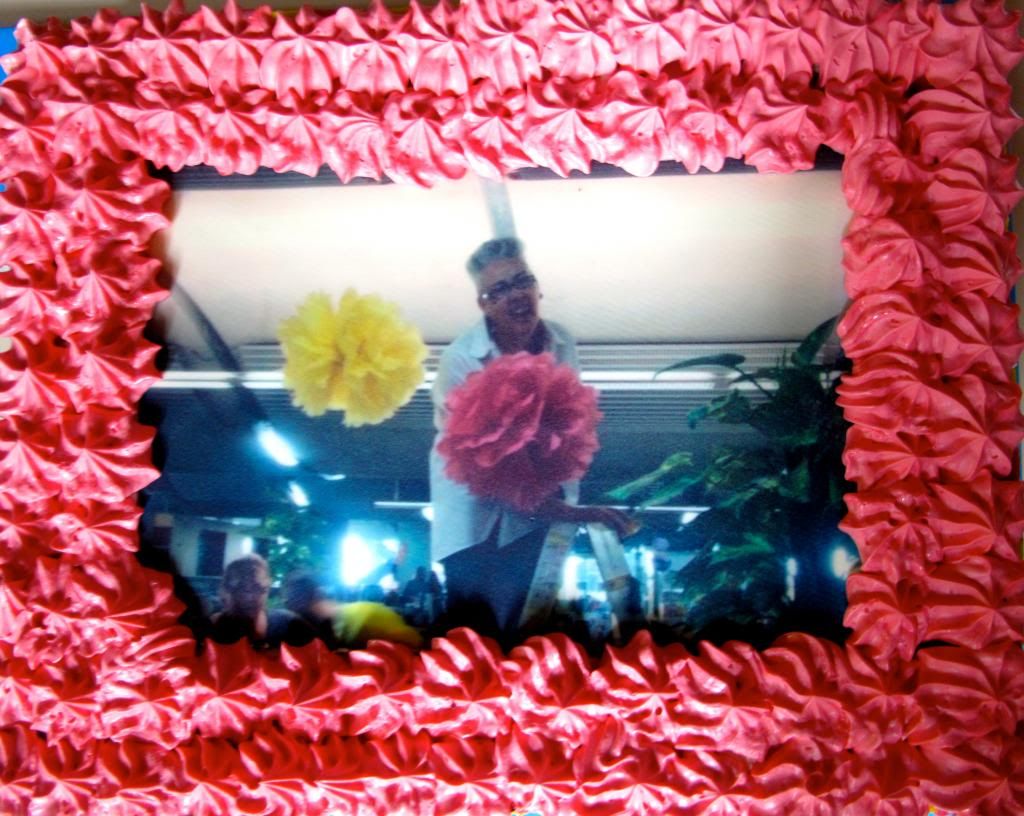
Next you will apply the icing image. The instructions are in the pack with the image, but it's really helpful to run the back of the image diagonally along the edge of your benchtop to release the image from the backing paper. Carefully remove the image and place squarely on your cake. Gently press out any bubbles from the image.
Take the buttercream and pipe around the edge of the photo. I find it is easiest to fill the bag around two thirds full and twist at the end. Rather than pressing in the middle of the bag, tighten the twist at the top to release more buttercream.
Refrigerate until ready to serve.
No comments:
Post a Comment